HomeLab rack 19" as decorative furniture.
Why do I want to build my own rack as furniture ?
A full metal 19” rack is better than a rack furniture because it’s sturdier and easier to use. But there’s nothing uglier in a living room, I don’t live in a castle or a house. I want a rack that fits into a living room with minimal noise where I can rack the latest servers.
There is a company that creates what I’m describing and does a great job. Its name is APC.
But unfortunately I’m not rich enough to pay 2,000 euros or more for a piece of furniture in my living room. And what fun would it be if I bought a ready-made piece ? None
One of my aim is to have a resilient, pretty, easy-to-use and robust rack 19”. I’m going to take my inspiration from APC Netshelter and this one in particular:

You can find several sizes in APC about the Netshelters. Here a little image about their different sizes:

My dimensions for my DIY furniture rack are of 654mm in height, 530mm in width and 1000mm in length. With this depth, I can rack all the servers and lay my cables. The depth between the front and back rails is 750mm. A depth that almost all rails will accept.
A preview of the size withouts door and finishing touches:

Purchase of a minimum number of components
| Picture | Components | Link |
|---|---|---|

|
Hinge | Hinge Amazon |
|
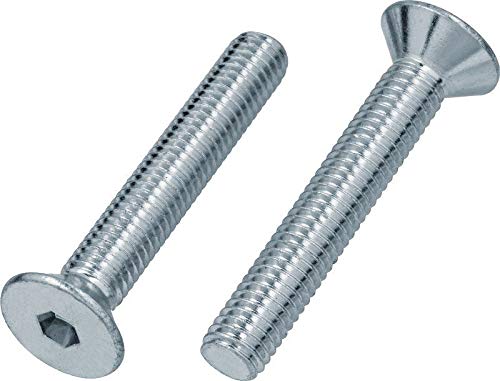
Countersunk head screw | Countersunk head screw Amazon |

|
Nuts | Nuts Amazon |
|
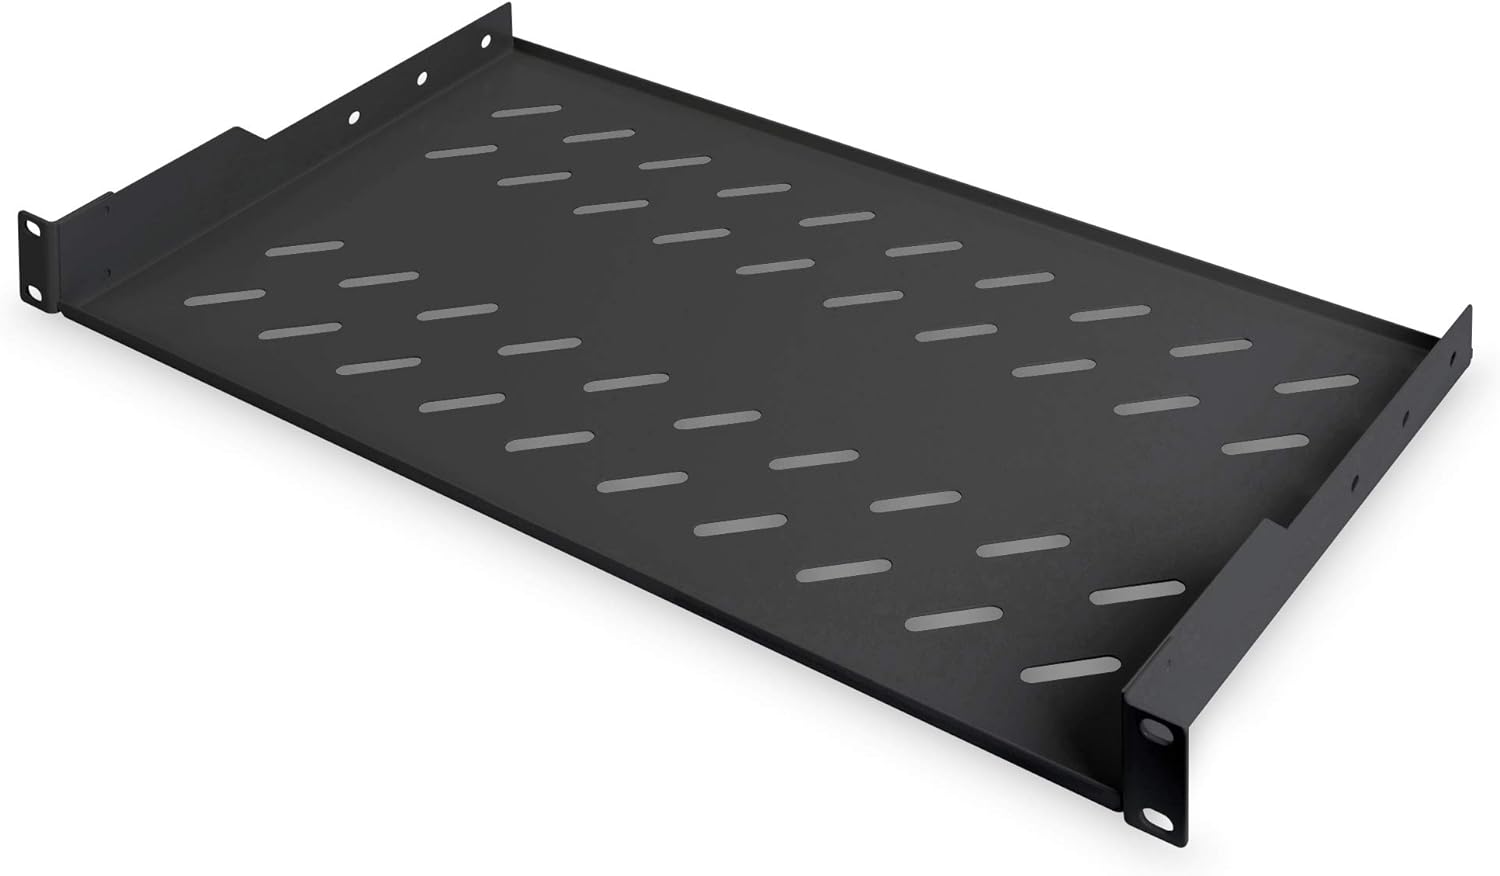
Shelf rack | Shelf Amazon |

|
Short Ethernet cable | Ethernet cable Amazon |

|
Hide patch | Hide patch Amazon |

|
Multi-socket for rack | Multi-socket Amazon |

|
Patch | Patch Amazon |
|
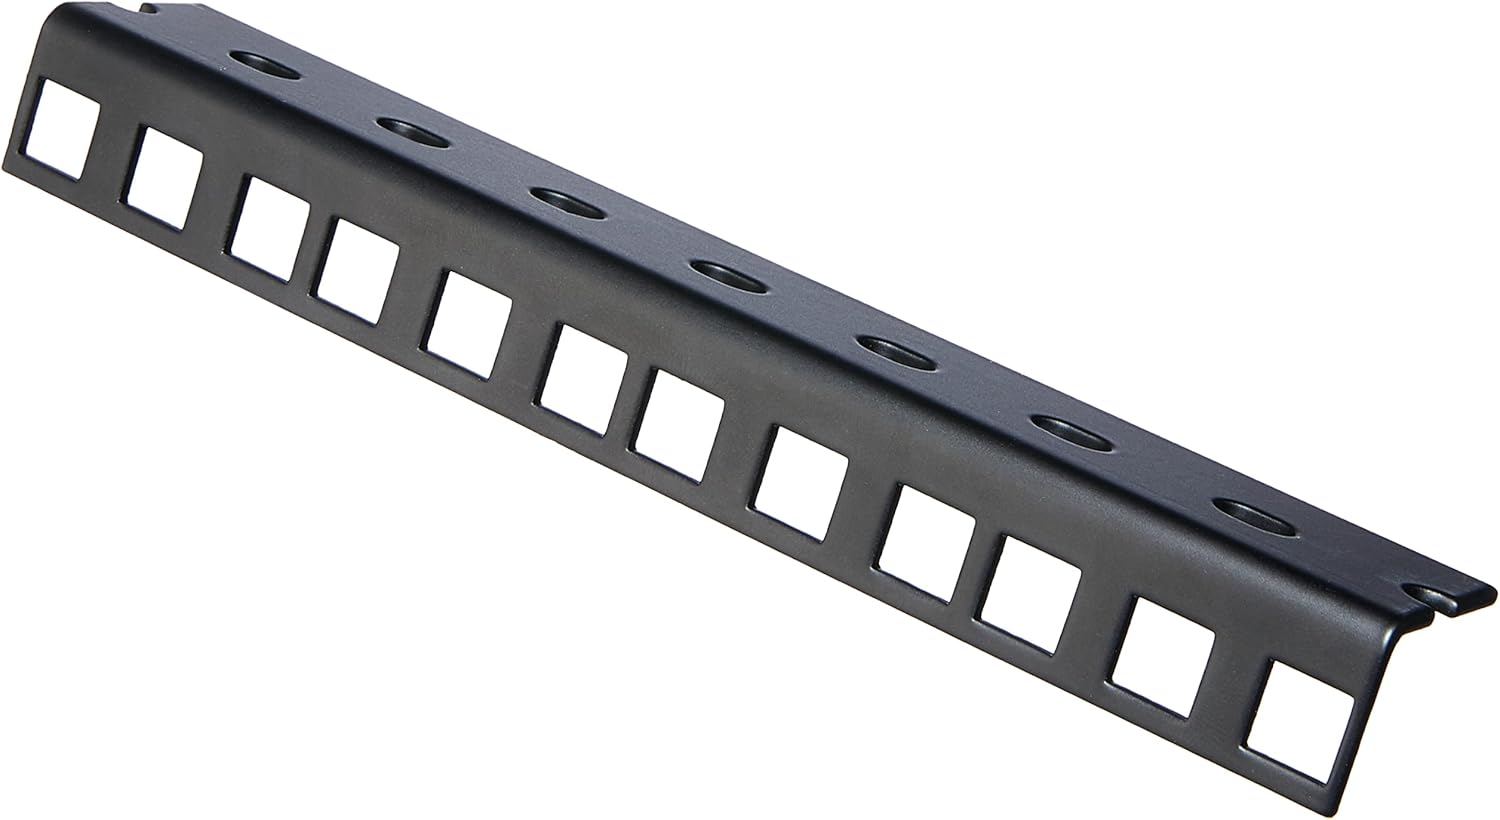
Rails 4U | Rails 4U Amazon |

|
Rails 10U | Rails 10U Amazon |

|
Wheels | Wheels Amazon |
|
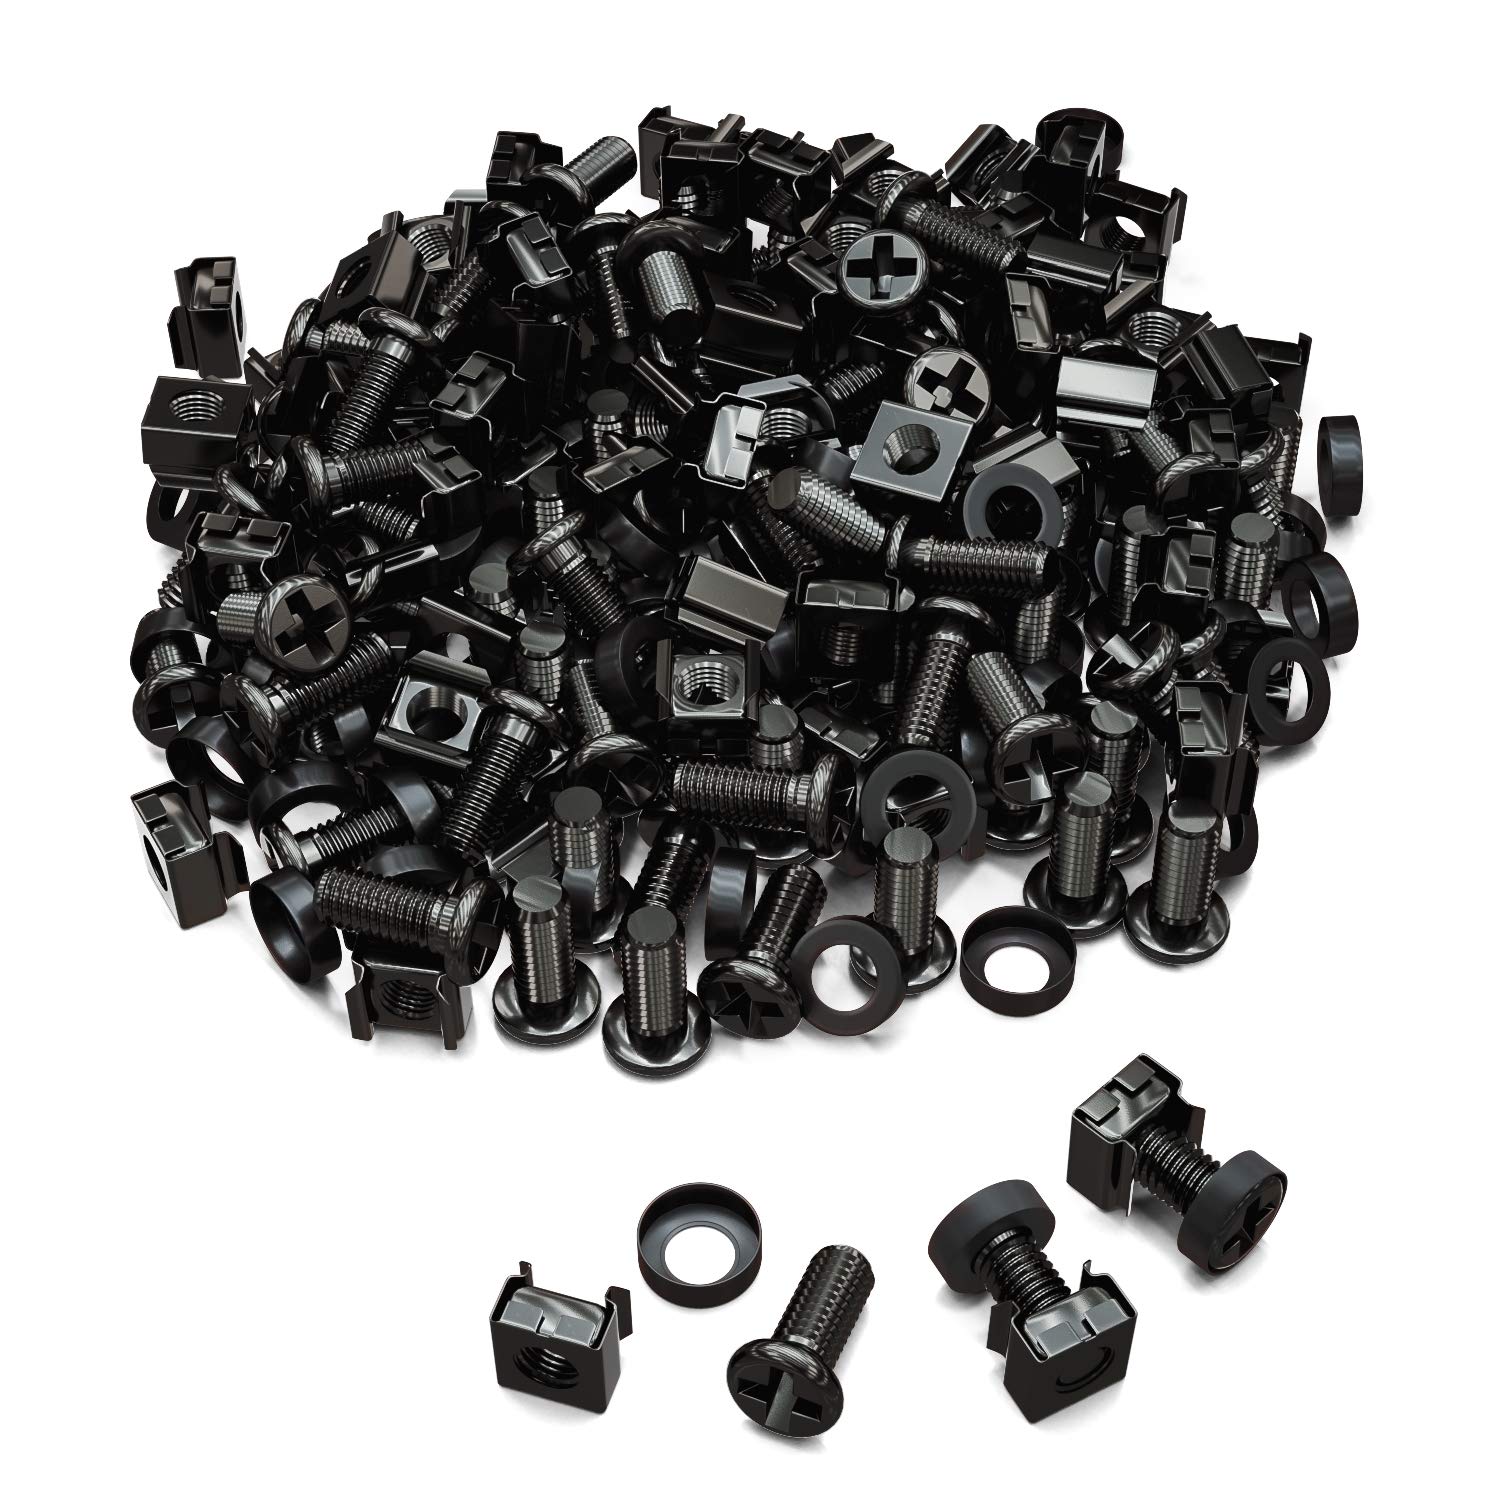
Screws and nuts for rackable components | Wheels Amazon |
|
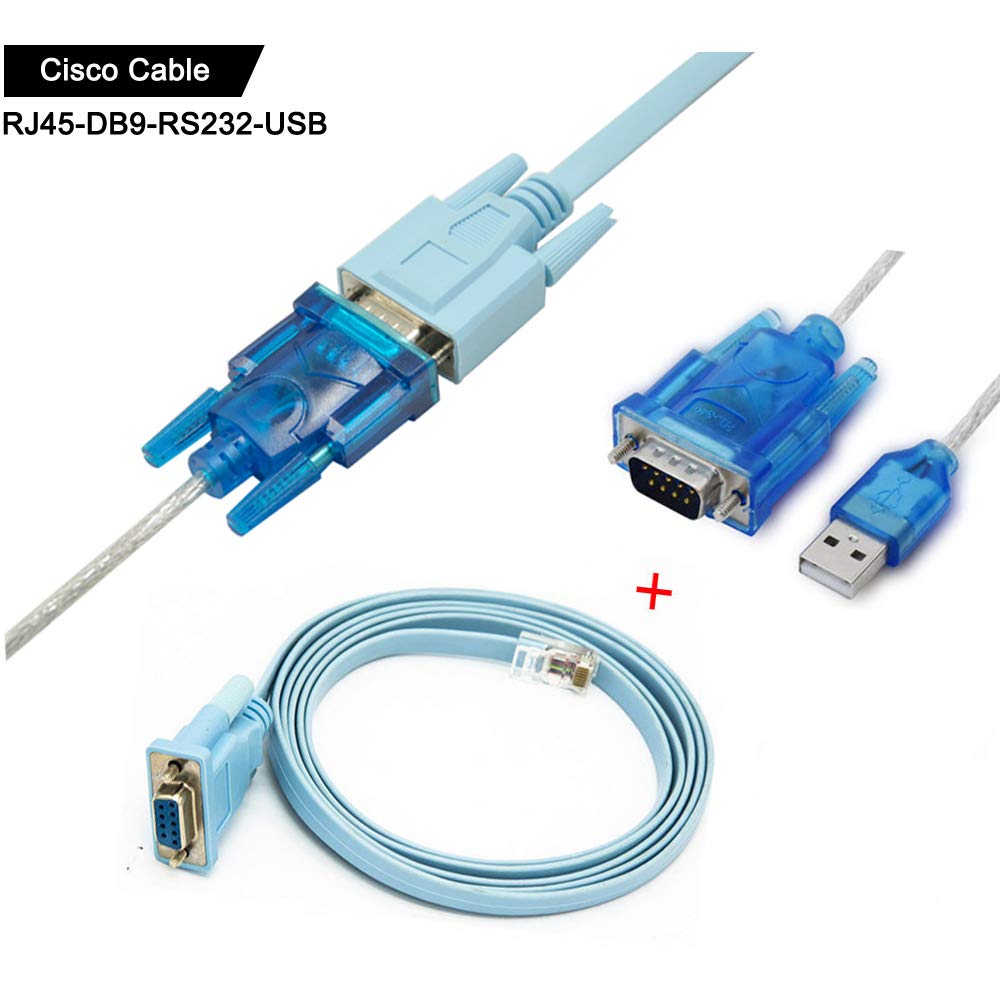
Serial cable | Serial cable Amazon |
On a photo, you can get all the components I purchased to equip my rack. You can see a HP switch 2930-24G+ POE that I bought on Leboncoin in second-hand. It’s only the first components, in a near future I will buy other components to equip my rack.

The structure
The structure is from 4 MDF panels I bought for 60 euros. The panels size was 1200mm in length for 620mm in width and a height of 12mm. I recommend to take a larger thickness, maybe more 16mm or 18mm.
I cut all the panels to a lenght of 1002mm. We have a margin of error if we cut too short. Then we’ll remove the extra 2mm by sanding the panels when they’re assembled.
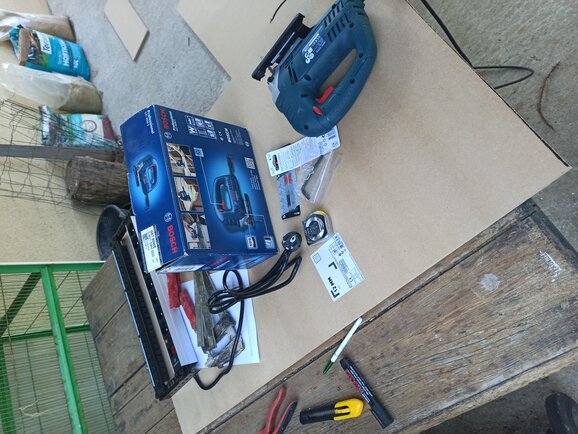
We assemble the four panels together with screws and wood glues. The result is the photo below:

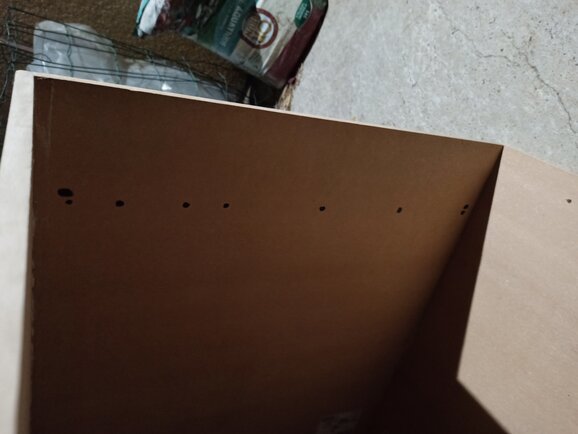
To attach the rack rails to the panels, I use countersunk screws with locknuts to make them really solid. Using countersunk crews, the screws can then hidden with wood filler. One of problems of my design is that the rails are fixed directly to the panels. I should have left a space between the panel and the rail for management and simplified modifications on my rack. The first picture represents the holes I made for the countersunk screws and rack rails. With the rails I get the result below:
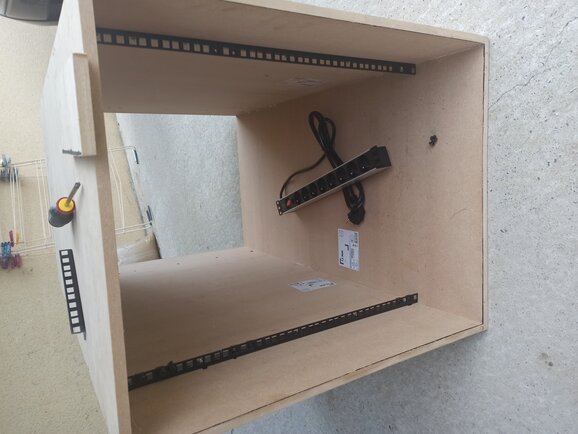
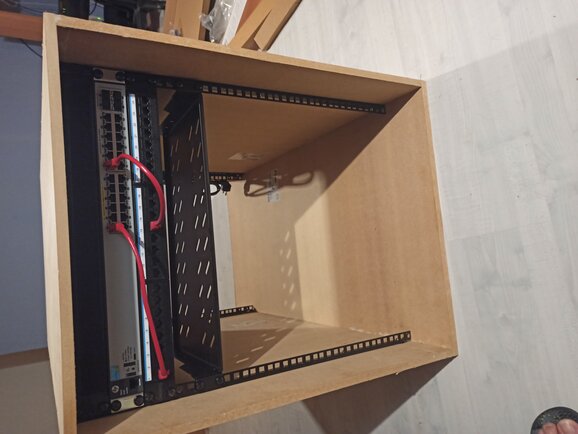
One of tricky parts of this project was the rack rails. I bought 4U adn 10U rack rails on Amazom but the dimensions of my panels were too short to have a 14U rack rails in height (2cm too short…). I cut the 4U rack rail to get 2cm. So I have 13U and 2/3U on my rack. I cut the rack rails with a simple metal saw. After this I can have my 4Rails, 2 front and 2 behind. I let 10 cm between the 2 front rails and the rack front. I let like 15 cm between the 2 back rails and the rack back.

After this I can populate my racks with some patchs, multisockets or a switch. And I get my rack’s structure done ! I need to create the doors and do some finishing touches like the paint and phonic insolation.
Paint
It’s my first time painting MDF. I paint with a black paint on the below, left and right panels. On the top Panels and the door, I want a wood effect paint. You can have a wood effect if you use some plastic tools/brush. In a first time after the primer layers, you apply two ivory color layers then you apply a brown dark color on it and brush your color before it dry. I use primer paint on all my structure, a white one. I apply 2 primer layers on it. I don’t paint inside the structure, just the exterior.
In a first time I apply wood filler on the screws then I am sanding all surface for the future primer layers:

Then after the wood filler dry, I can apply my primer layers. One layer then 3 hours after a second layer. I get my exterior structure with a white color:

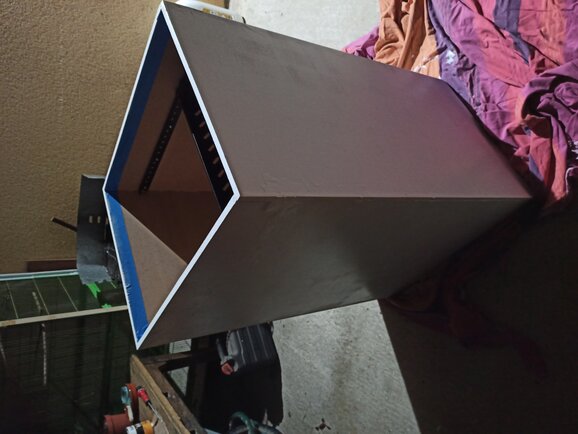
Now I can paint the dark colors on my 2 primer layers.

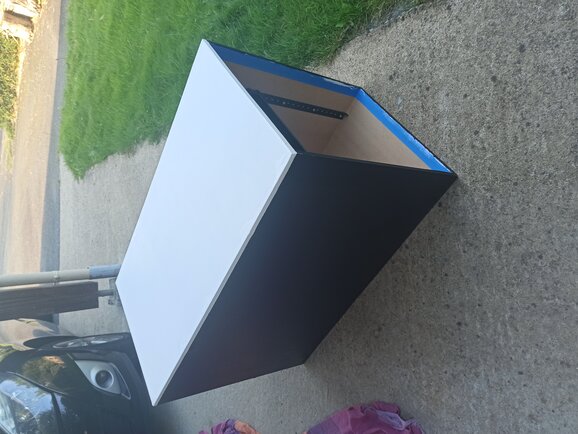
Drive
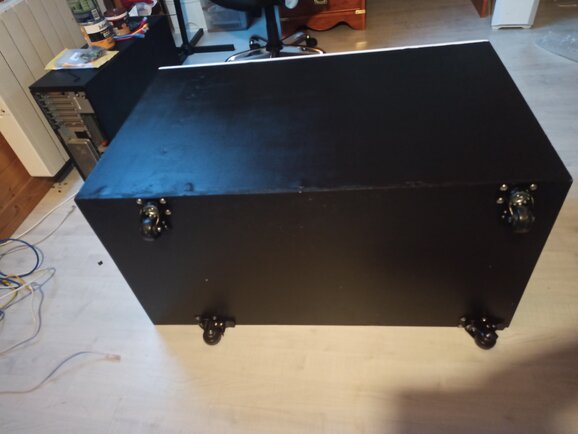
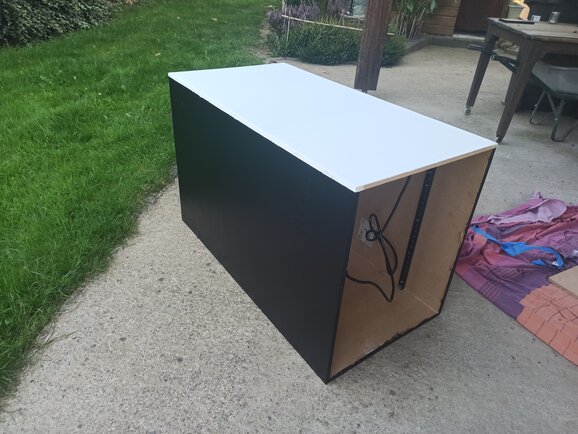
I add some wheels to deplace easily my rack. I screw my wheels just behind the rails. It’s why you can see that the wheels are not symetric between the front and back wheels. The load is on the rails, like this the wheels will support directly the load. The result is below:
